
This year - I kept my promise to myself (and I bought $300 worth of candy - not really but can someone please say that to BD if you see him? That way, when he finds out that I really only spent $150, it won't be such a shock)
I needed to start with a template:
(thankfully, the UPS man has brought me many useful boxes this Christmas season!)
(thankfully, the UPS man has brought me many useful boxes this Christmas season!)

And the Dough! (the best recipe I've found which I will put at the bottom of the blog!)

I cut and cooked the pieces. THEN, when I was all cleaned up and ready to go to bed at midnight, I realized that I had made the sides WRONG.
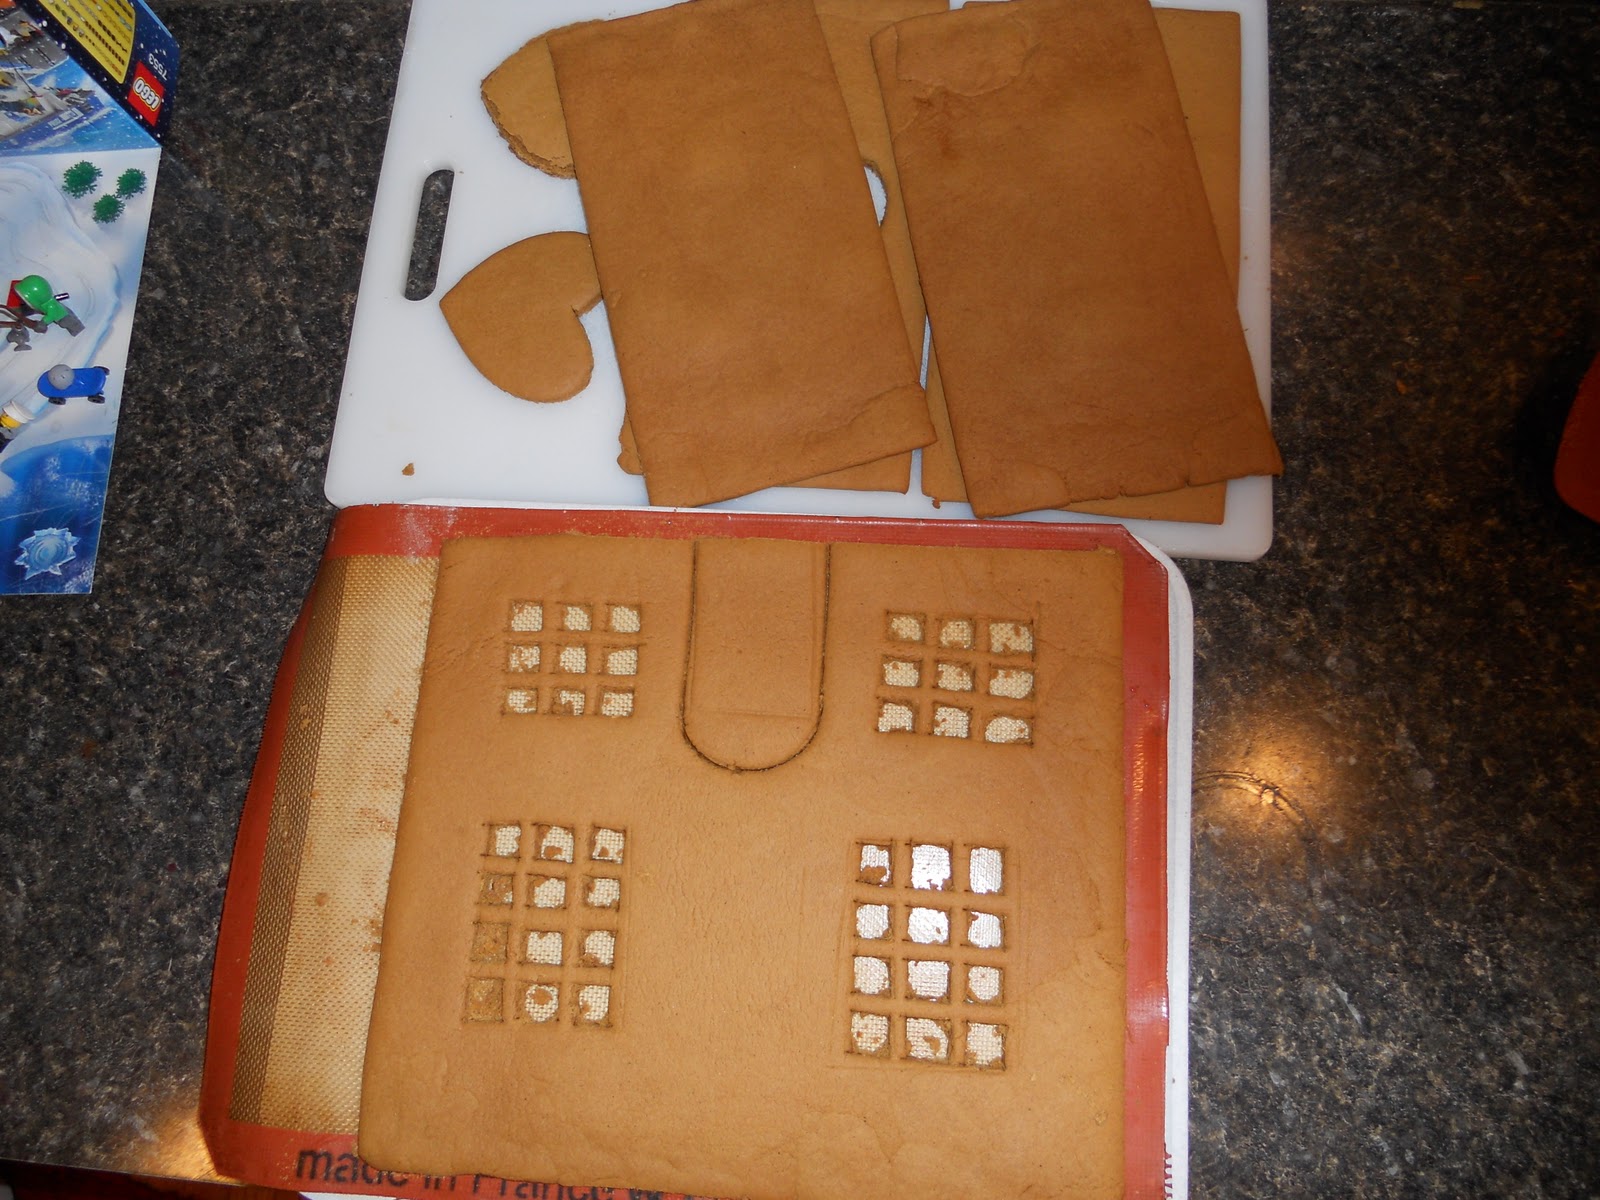
Doesn't everyone have the Lego Advent Calendar on their counter??
(this made me very happy when I had realized my mistake about the sides!!)

SO, I got up this morning at 6 and made new sides. It is very important to make sure to trim the edges of each piece as SOON as it comes out of the oven. STRAIGHT SIDES!! STRAIGHT SIDES!!
I used a pizza cutter to not only cut the original pieces before baking, but also to trim the edges of the cooked pieces.

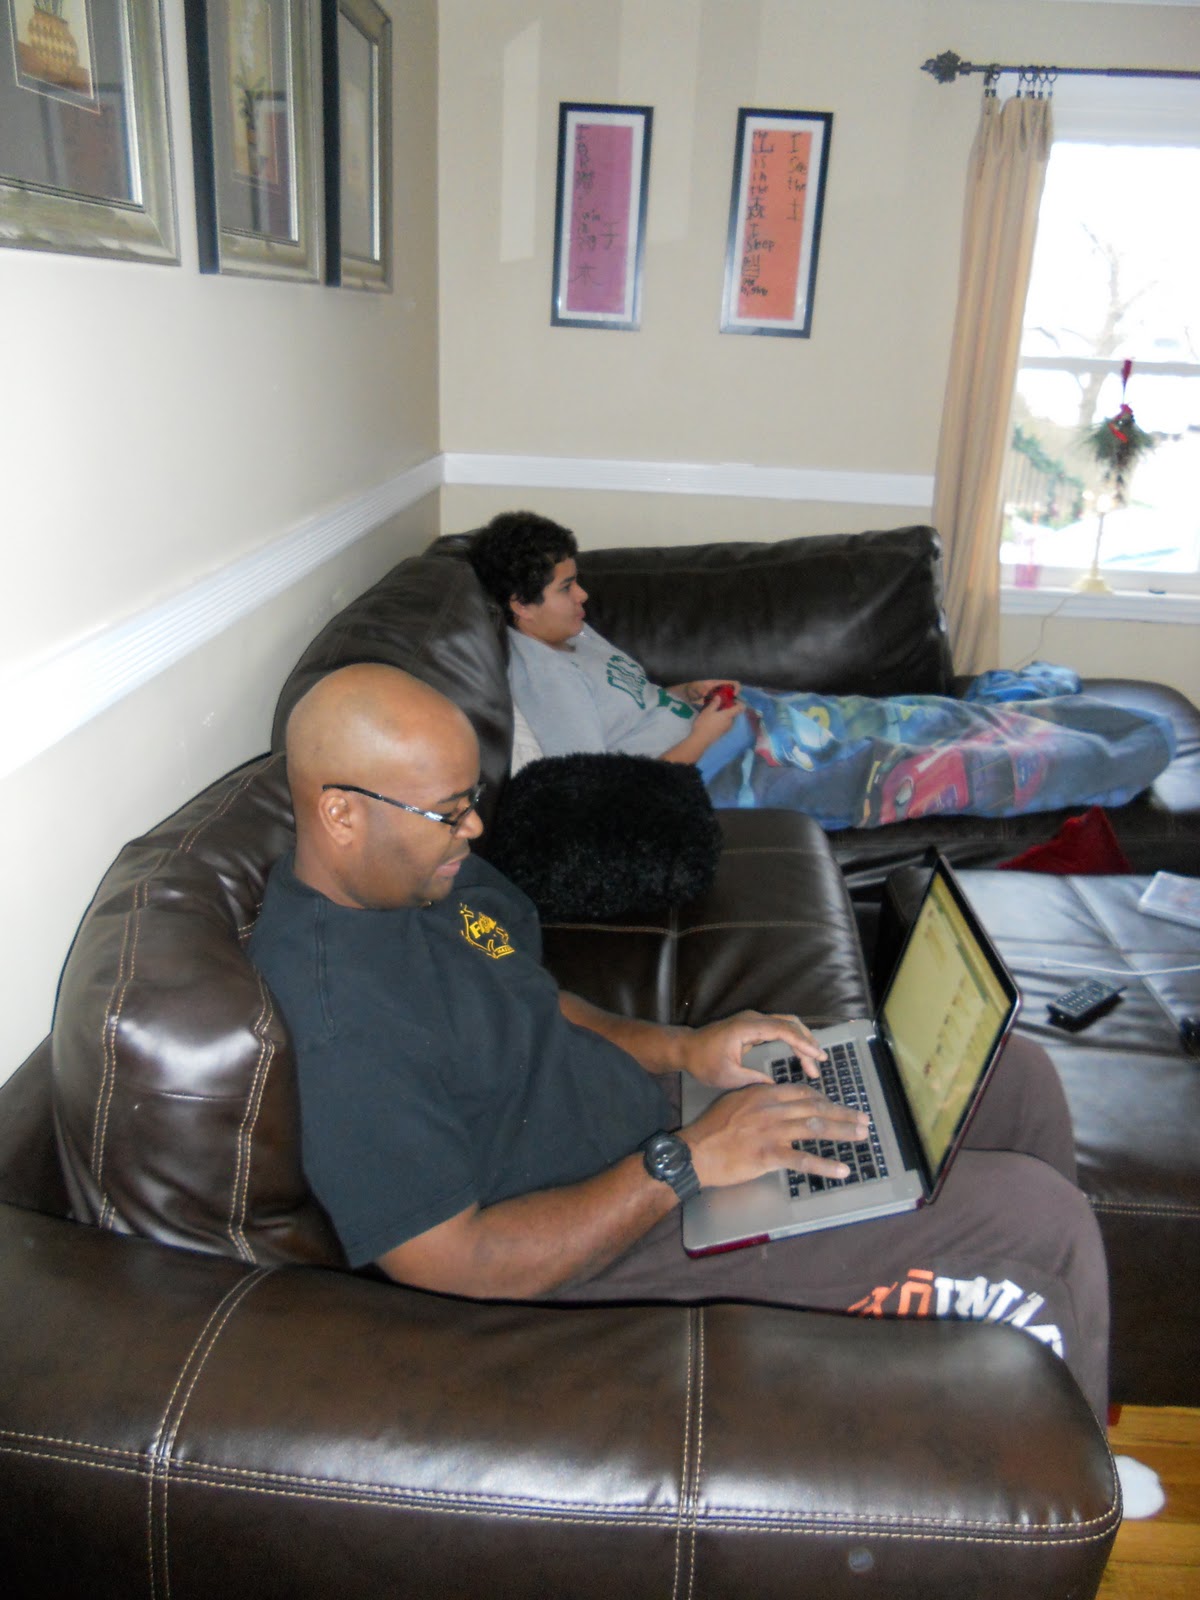
BD and Greg were also VERY VERY busy.
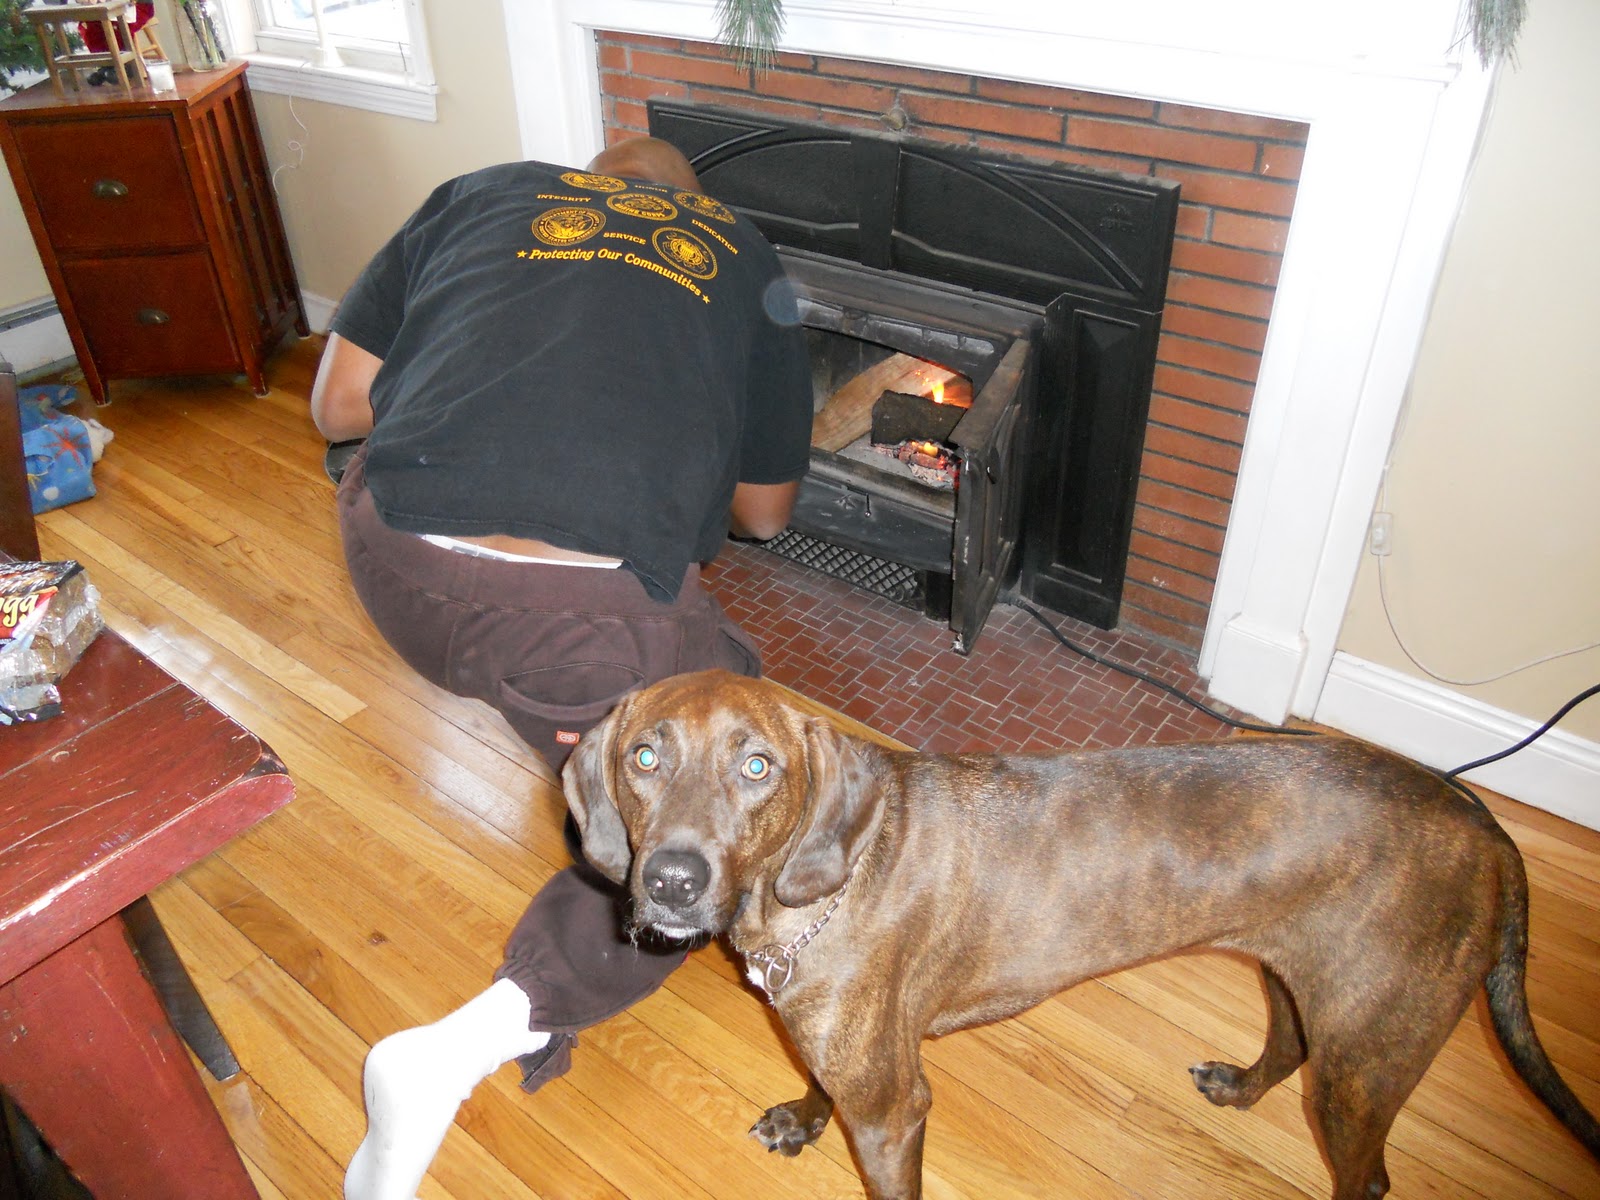
Rocco was AT THE READY.....

Every time I turned around, he was RIGHT behind me.

"Mom, do we need help BD with the FIRE?"
Joe loves to do stuff like this with me. (he was multi-tasking and doing his part time job at Cafe World at the same time)

I read somewhere that it's a good idea to decorate the sides before assembling. (Royal Icing Recipe at the bottom...under the GINGERBREAD receipe!)
I did it. I loved it. I'll never do it any other way.

You have to let them dry COMPLETELY. I covered the roof in LIFE cereal.

Greg was very busy emailing his Christmas list to Auntie Jeanne.
(At least he got off the couch.)

Joe's Blue House (in Massachusetts and RI) - or Chanukah House! (everywhere else)

The Pink Lady, Holiday House and Peppermint Palace. (we loved Peppermint Palace so much, we're making a regular size one of it this weekend)

The Cheez-its box was the PERFECT SIZE for support. This can be the step that "breaks the camel's back" if you're not patient. Hold the pieces together for a minute by hand. THEN, find something that they can lean on. Sort of like your kids. Hold their hands for a while, then offer support. BACK TO GINGERBREAD.

I got all the pieces together....and thought...um, the roof is going to be a little small.
Let this step dry for a LONG TIME. If your husband happens to have a ROARING FIRE going and the house is 105 degrees, this helps.

Joe does a "more is more" style of decorating. He had more candy on his mini village than I had on my mansion. He adds a little, adds a little, adds a little.....

.....and it came out GREAT.

I was right. The roof was too small. SO, I filled in the sides with candy canes. They kind of reminded me of handlebar mustaches - and later my friend said they were "peppermint gutters".
I put lights inside - and it's supposed to make the house smell great!! It didn't. But what it did do was make the walls super dry and some of the decorations fall off. BUT WHO CARES??? At least I got pictures!!

Next year......I'm going to put FURNITURE INSIDE!! And a TREE!! AND MUSIC!
I hope this house lasts more than a week....maybe the dogs don't like GINGERBREAD...and prefer to just eat all of my furniture and stairs instead....and cushions....and their dog beds.....and any writing utensil that hits the floor........
MERRY CHRISTMAS!!
GINGERBREAD RECIPE
1 c. shortening
1 c. brown sugar
1 c. molasses
1/2 c. water (you might need a little more - go by consistency - it should be like COOKIE DOUGH!
2 tsp baking soda
(**Cream all of the above together)
8 c. flour
2 tsp ginger
1 tsp cinnamon
1/2 tsp allspice (I used ground clove)
1/2 tsp salt
Roll out to about 1/8" thickness and cut your pieces (I used a pizza cutter). I suggest rolling the dough on a silpat while it is ON the pan you are going to bake it on. When it comes out of the oven. pull the silpat off of the pan and onto the counter (to ensure the pieces are absolutely flat) and then let the pan cool before rolling out another one. (you can also use parchment paper....Christmas Tree Shop $1.99 a roll!!). Bake the pieces at 350 for about 8-10 minutes. I cooked them a little longer...til they were almost burnt!! I even put one of the pieces BACK in to cook it a little longer after it was already cooled. (it just felt too soft when I tried to pick it up) **Reminder** trim the pieces when they come out of the oven. I used a pizza cutter!!
ROYAL ICING
1 box of confectioners sugar
3 tbsp meringue powder
6 tbsp water
Mix together in the mixer on low speed. Increase the speed to a little above med and beat for 5 - 6 minutes. You MIGHT have to add a little more water. The icing should be shiny and not too stiff. BUT, each time to add water, you have to REBEAT it for 5 - 6 minutes. SO, add the water in the very beginning!
After filling the piping bags, keep them wrapped in a damp cloth (and keep returning them to the damp cloth while you are decorating to keep the tips from drying out). If there is any icing left in the bowl, cover it with plastic wrap (not on the rim of the bowl, but right ON the icing itself!)
HAPPY DECORATING!!!
No comments:
Post a Comment